The code is compiled with cmake, please check out CMakeLists.txt
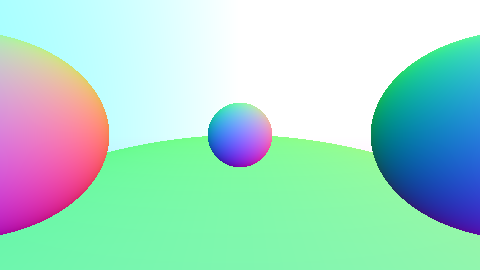
If we take a look on our result, we can see it’s good. But if we take a closer look, we will see there are little “stairs” between on the edge of the sphere. In 1920 width, it’s not really noticeable, but if we use 480 as the width, it will look like this:
This is because our image is drawn pixel by pixel. In real world, the resolution is sufficiently large, so we can’t see the “stairs”. But in computer graphics, we emulate real world images with pixels, so we can see the “stairs”. Solving this problem is called “anti-aliasing”.
Imagine we are viewing a chess board close up, we see black and white grids-like stairs. But if we view it from a distance, we see gray instead of the grids-like “stairs”. This is because the black and white grids are mixed together and eliminated the stair effect, which can be used in our rendering.
With this in mind, we can implement our “anti-aliasing” algorithm. The idea is simple and straightforward: sample the light rays falling around the pixel, and then mix them together. The range for us to pick the sampling point will be a square around the pixel with a side length of a pixel. Picking method will simply depend on a random number generator.
icon-padding
dashed lines are random sampling points
In post-C++11, we can use the <random> library to generate random numbers. Here is the code:
intmain(){ auto camera = Camera(480, 16.0 / 9.0, 2.0, 1, MathUtil::Point3(0, 0, 0)); auto world = HittableList(); world.add(std::make_shared<Sphere>(Sphere(10, {0, -10, -5}))); world.add(std::make_shared<Sphere>(Sphere(2, {5, 0, -5}))); world.add(std::make_shared<Sphere>(Sphere(2, {-5, 0, -5}))); world.add(std::make_shared<Sphere>(Sphere(2, {0, 0, -15}))); camera.setSampleCount(100); camera.Render(world);
return0; }
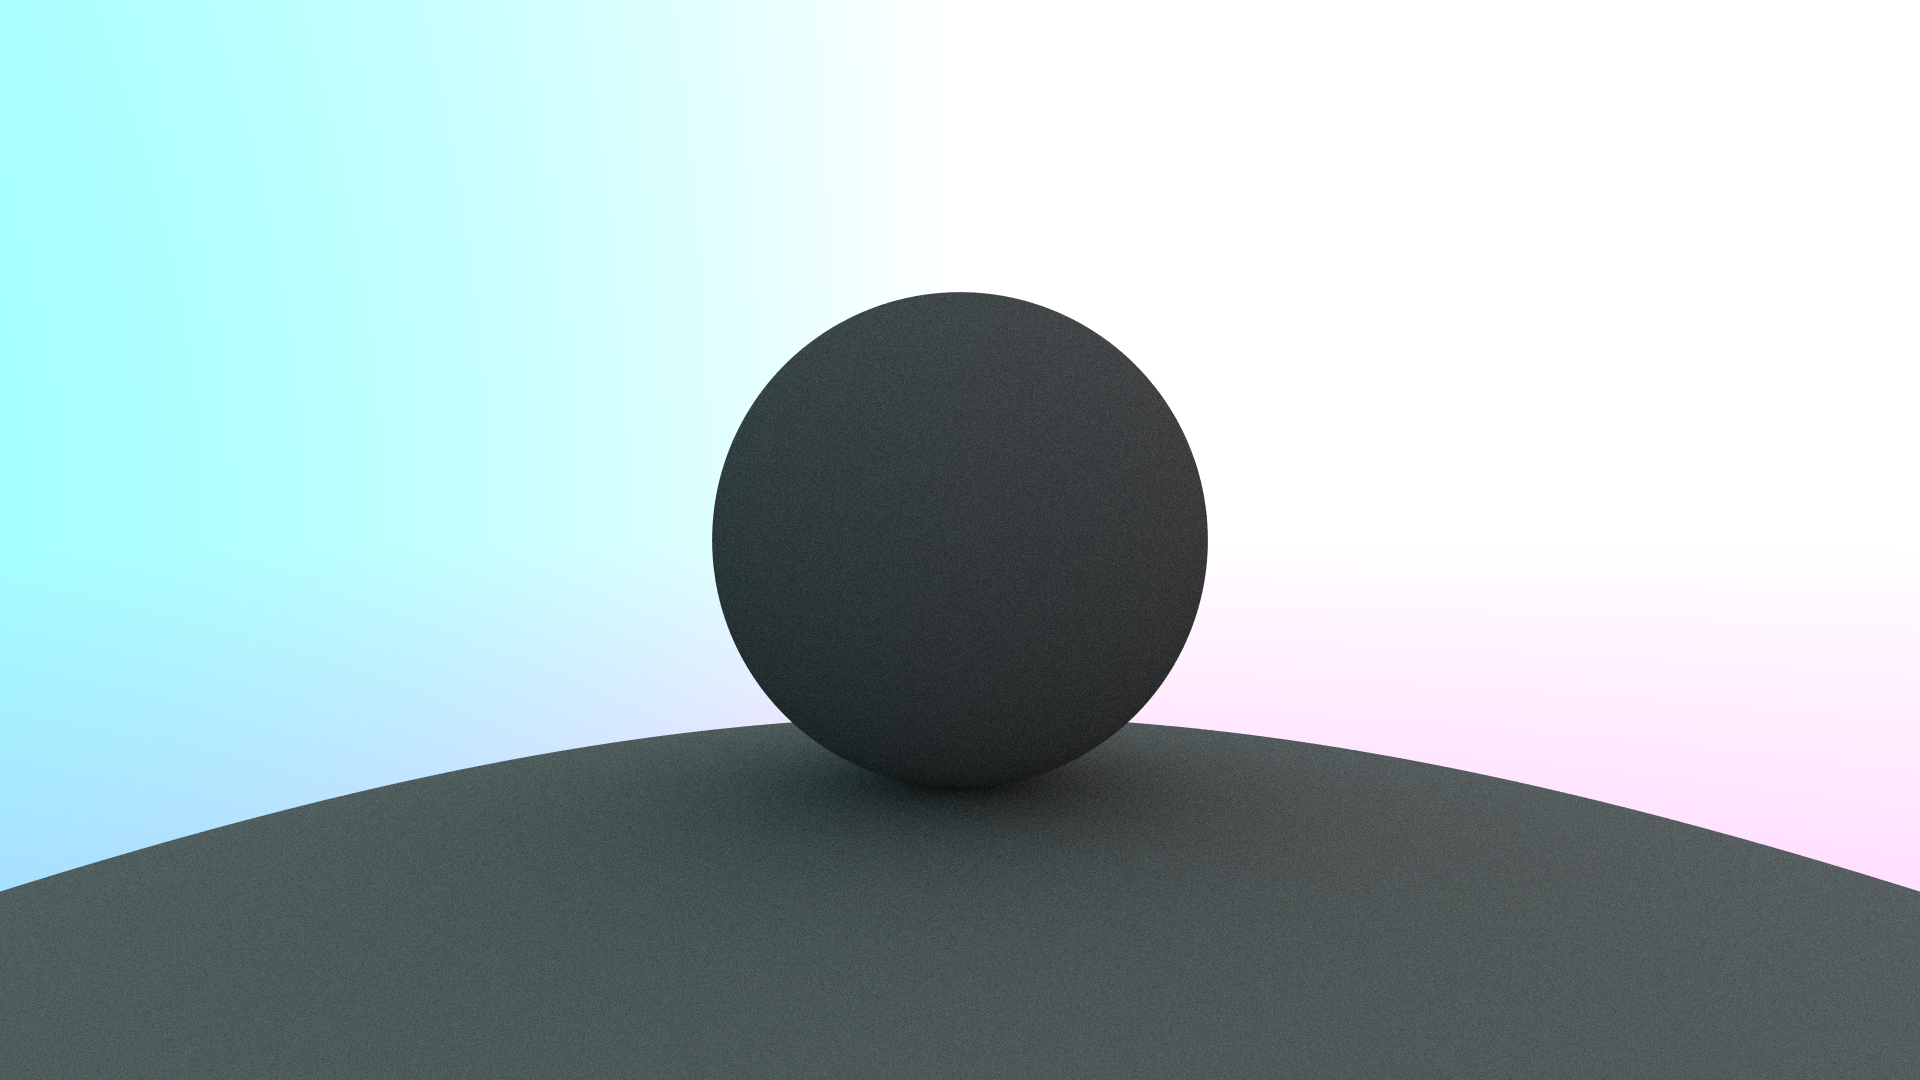
The effect is appearent:
However, on my computer, it takes me 6.481s to render this image. This is because we are resampling the light rays 100 times for each pixel, which means 100 times slower than the original rendering. We can use multi-threading to speed up the rendering process. But this is not the focus of this note, so I will not cover it here.
We now have shading on our sphere, the next step is to do texturing. We will start with diffuse material.
When a ray hits a surface, it will diffuse in all directions. This is because the surface is not smooth. In our case, we will just randomize the direction of the diffused ray to simulate this effect.
icon-padding
dashed lines are random diffused rays
First we will make some helper functions to generate random vectors:
To make our choise of random ray direction more uniform, we will only choose the ray end up in the unit sphere. This is because if we pick a random vector in a cube, the vectors near the corner will be more likely to be picked. This is because the volume of the corner is smaller than the volume of the center. To do this, we will use the rejection method. Here is the code:
1 2 3 4 5 6 7
Vec3 randomVec3InUnitSphere(){ while (true) { auto p = randomVec3(-1, 1); if (p.lengthSq() >= 1) continue; return p; } }
After we picked a desired vector, we will normalize it: